This chapter shows how to control the display of image buffers using the ImageAvailable event.
Normally, IC Imaging Control shows the live display automatically in its control window. However, using the ImageAvailable event, this behavior can be changed, thus enabling an application to modify the image data in the buffer (image processing), before it is displayed.
The source code for this sample program can be found in the samples\VB6\Display Buffer directory.
Create a new project and add IC Imaging Control to the form. Before you run the program, select the video device, input and video format as shown in the First Steps in Visual Basic 6 chapter. Alternatively, run the program without selecting a device. In this case, the program shows the device selection dialog provided by IC Imaging Control. If you close this dialog without making a selection, the program displays an error message and terminates.
As described in the chapter Using Multiple Buffers, IC Imaging Control uses a ring buffer to manage multiple buffers. The number of buffers contained in the ring buffer may be specified in the property browser by clicking on the property ImageRingBufferSize. On the one hand, a large size reduces the probability that IC Imaging Control attempts to overwrite the buffer. However, on the other hand, a large ring buffer size uses a large amount of memory. Choosing a suitable ring buffer size should be based on balancing these two contrary aspects. For our application, a ring buffer size of 5 is suitable because no processing is carried out on the buffers.
Set LiveDisplay in the property browser to False. This prevents IC Imaging Control from displaying the live stream automatically.
Set LiveCaptureContinuous in the property browser to True, in order to enable the continuous capture mode. In this mode, IC Imaging Control copies every frame automatically to the ring buffer. In addition, an ImageAvailable event is sent every time a frame has been copied completely to the ring buffer.
Set the ScaleMode property of your main form to "3 - Pixel". This enables us to use pixel values (instead of Twips) to resize the control.
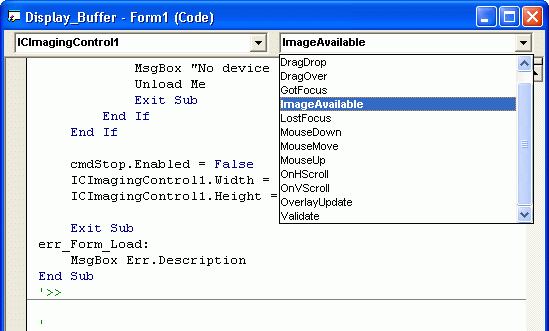
Create a Form_Load event procedure and add the following code:
This enables the "Start" button only, if the currently selected video capture device is valid. The following lines with ControlName.Width = ControlName.ImageWidth set the size of the control as specified by the currently selected video format.
Add a button to the form, set its Caption to "Start" and its Name to "cmdStart". Add the following code to its click event procedure:
Add a second button to the form, set its Caption to "Stop" and its Name to "cmdStop". Add the following code to its click event procedure:
Now, add an ImageAvailable event procedure to your code.
Insert the following lines of code to the event procedure:
The ImageAvailable event handler takes the BufferIndex as a parameter. BufferIndex is the index on the buffer that contains the last copied image in the ImageBuffers collection. CurrentBuffer is an ImageBuffer object that takes a reference to an image buffer. The image buffer referenced by BufferIndex in the ImageBuffers collection is assigned to CurrentBuffer. By calling ICImagingControl.DisplayImageBuffer with the parameter CurrentBuffer, the CurrentBuffer is displayed in the IC Imaging Control window.