This chapter shows you how to save a video stream as a compressed video file. In contrast to the Capturing an AVI File example, the MediaStreamSink is used to allow several video file formats to be recorded.
The source code for this sample program can be found under samples\C#\Capturing a Video File in your My Documents/IC Imaging Control 3.5 directory.
Create a new project and add IC Imaging Control to the form. Before you run the program, select the video device, input and video format as shown in the FirstSteps chapter. Alternatively, run the program without selecting a device. In this case, the program shows the device selection dialog provided by IC Imaging Control. If you close this dialog without selecting a device, the program will display an error message and terminate.
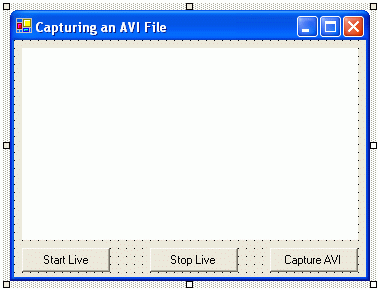
Now, add 3 buttons to the form and label them Start Live, Stop Live and Capture Video. Name the buttons cmdStartLive, cmdStopLive and cmdCaptureVideo respectively.
Add calls to IC Imaging Control's LiveStart and LiveStop methods:
[C#]
private void btnStartLive_Click(object sender, EventArgs e) { icImagingControl1.LiveStart(); } ��
[C#]
private void btnStopLive_Click(object sender, EventArgs e) { icImagingControl1.LiveStop(); } ��
Run the program. You can now start and stop the live image by clicking on the respective buttons. This does not yet create a video file, but is required to create a preview for the live video stream. This is usually required to set up the camera before actually starting to record.

Now add another form to your project. Name it frmSaveVideo. Add a combo box for the available media stream containers (video file types) and a combo box for the available video codecs. Insert a text box for the video filename, and buttons to start and stop video capture. (You may want to load the sample project instead of creating the form manually).

In the FormLoad event, the combo boxes are filled with the names of all media stream containers and video codecs installed on your computer.
[C#]
private void SaveVideoForm_Load(object sender, EventArgs e) { cboMediaStreamContainer.DataSource = TIS.Imaging.MediaStreamContainer.MediaStreamContainers; txtFileName.Text = System.IO.Path.ChangeExtension("video.avi", CurrentMediaStreamContainer.PreferredFileExtension); btnStopCapture.Enabled = false; fillCodecListItems(); } �����
The Click event of the "Start Capture" button initializes the dialog's m_Sink variable with the currently selected media stream container, codec and filename. The recording process is started by calling LiveStart:
[C#]
private void btnStartCapture_Click(object sender, EventArgs e) { _sink = new TIS.Imaging.MediaStreamSink( CurrentMediaStreamContainer, CurrentVideoCodec, txtFileName.Text ); _sink.SinkModeRunning = !chkPause.Checked; _oldLiveModeSetting = _imagingControl.LiveVideoRunning; _oldSink = _imagingControl.Sink; _imagingControl.LiveStop(); _imagingControl.Sink = _sink; _imagingControl.LiveStart(); btnStartCapture.Enabled = false; btnStopCapture.Enabled = true; btnClose.Enabled = false; } �����������
The Pause button is a check box with a graphical style. It is used to set and reset the MediaStreamSink.SinkModeRunning property. If the SinkModeRunning property is set to False, video capture is paused. This means, that only the sink path of the image stream is paused. The live video is still displayed, but the video is not saved to the video file. If the SinkModeRunning property is set to True, IC Imaging Control immediately continues video capture. A previously started video file will be continued.
[C#]
private void chkPause_CheckedChanged(object sender, EventArgs e) { if (_sink != null) { _sink.SinkModeRunning = !chkPause.Checked; } } �����
The video capture can be started even if the SinkModeRunning property is set to False. In this case, the image stream will be initialized and started and the live video is displayed. But the images are not saved to the video file until the SinkModeRunning property is set to True. This has the advantage that video capturing can be immediately started, paused and restarted on an event.
Finished. You can now run the program, select a codec and create a video file. Note that compressing a video stream is a highly CPU intensive operation and not all codecs will be able to work at full image resolution and full frame rate.