This chapter shows you how to grab a still image from the video stream and save it to a .BMP file.
The source code for this sample program can be found in the samples\VB6\Grabbing an Image directory.
Create a new project and add IC Imaging Control to the form. Before you run the program, select the video device, input and video format as shown in the First Steps in Visual Basic 6 chapter. Alternatively, run the program without selecting a device. In this case, the program shows the device selection dialog provided by IC Imaging Control. If you close this dialog without having first make a selection, the program displays an error message and terminates.
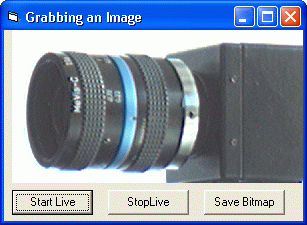
Now add 3 buttons to the form and label them Start Live, Stop Live and Save Bitmap. Name the buttons cmdStartLive, cmdStopLive and cmdSaveBitmap respectively.
Add calls to IC Imaging Control's LiveStart and LiveStop methods:
Run the program. You can now start and stop the live image by clicking on the respective buttons.

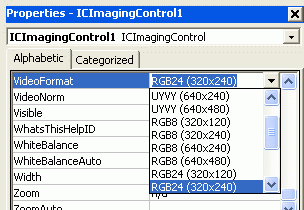
The video format determines the video stream's image size and color depth. Select one in the VideoFormat box:

When the live video is running, a call to the method MemorySnapImage Method will grab the currently displayed image and stores it in IC Imaging Control's image buffer. On the other hand, when you stop the live image, the last frame of the live image is stored automatically in IC Imaging Control's image buffer for further display. In both cases, we can save the currently displayed image by calling the MemorySaveImage method. We only need to add a little error handling and a common dialog box so that we can select a filename. Drag a Common Dialog Box to your form and put this code in the Save Bitmap button's Click event:
Now you can start the live image to adjust your cameras brightness and focus, and then stop the live display and save the captured image.