This chapter shows you how to get started with IC Imaging Control in Visual Studio 2010.
With just a few mouse clicks and several lines of code, you will be able to display a live video image in your .NET program. This article shows how to create a C#™ project.
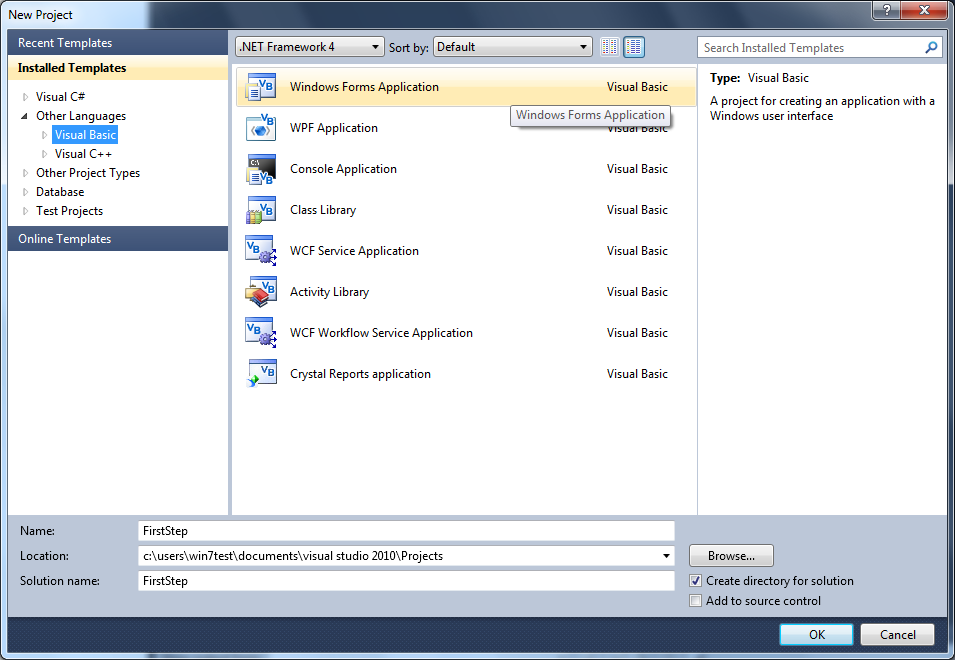
Assuming that you have already run the IC Imaging Control installation program and started Visual Studio .NET, the next step is to create a project. To do this select the "New" command from the "File" menu, then select "Project".
Now choose ""Windows Forms Application". Name the application "FirstStep". You may select the .NET Framework version here. It can be every version starting from 4.0. Then click the OK button to create the new project.
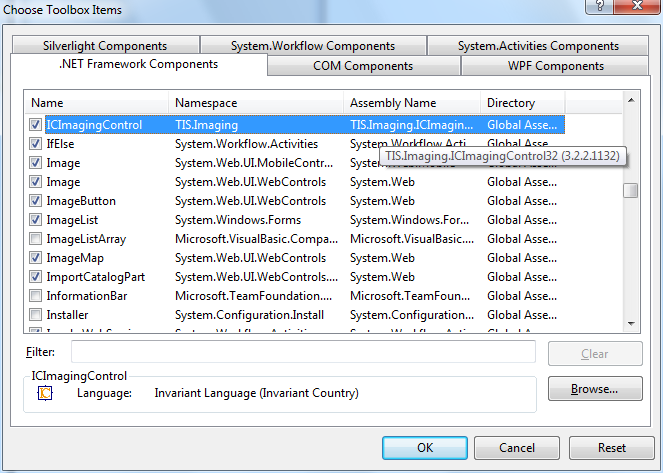
Now that the project has been created, select the "Components" tab from the "Toolbox". If there is no "Toolbox", select "Toolbox" from the "View" menu.
Right click on the "Toolbox" and choose "Choose Items..." from the context menu. The "Choose Toolbox Items" dialog is displayed. Scroll down until ICImagingControl is shown:
Make sure its version is starting with 3.5 and it is checked. Then click the "OK" button.
ICImagingControl is now listed in the "Toolbox" and ready to use.
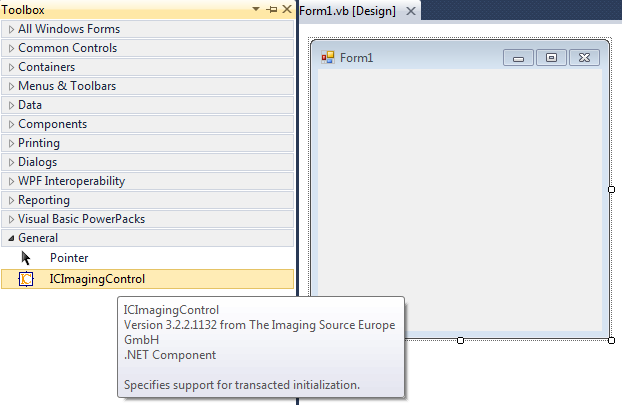
Select the ICImagingControl component from the "Toolbox" and draw it on the form of your project. A white rectangle should appear on the form. Right click on that control and select "Properties" from the context menu to make the "Properties" window of the ICImagingControl appear.
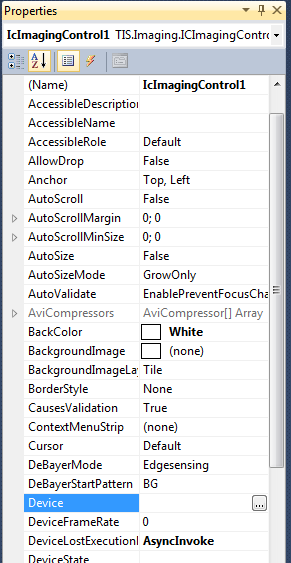
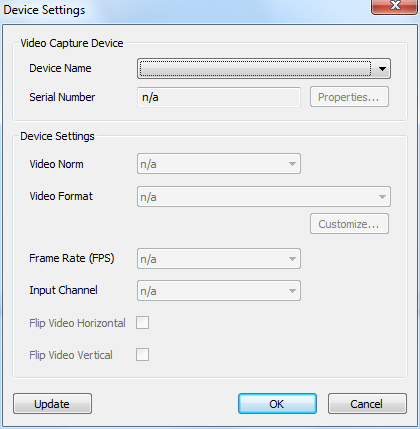
In the properties window select the "Device" property and click the button "..."
A dialog will appear and you can select a device. You can also configure the video norm, the video format, and the input channel.
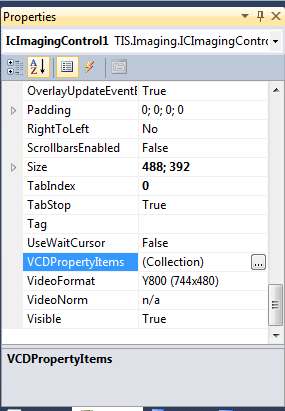
If you want to adjust the image settings, select the "VCDPropertyItems" property and click the "..." button:
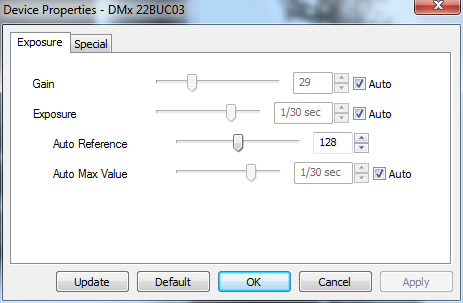
A dialog appears in which you can configure the image settings. The live video is also running, while the property dialog is open, so that you can see the result of your adjustments
Now that the video capture device is configured, only a single line of code in the FormLoad event is needed to display a live image:
[C#]
private void Form1_Load(object sender, System.EventArgs e) { icImagingControl1.LiveStart(); } ��
You are now ready to start, debug and watch your program display a live video.