Please run one of the demo programs from the "start menu", in order to verify that you are able to open a video capture device and display a live image.
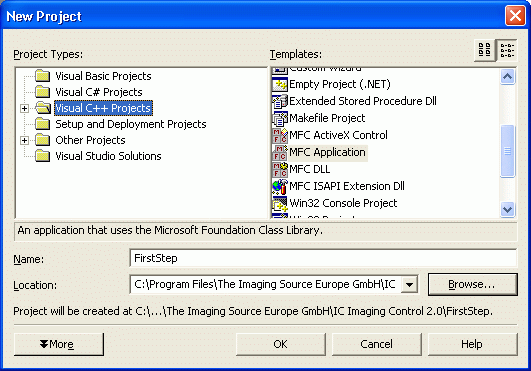
Start a new project by selecting "New" -> "Project..." in the "File" menu. In the dialog that appears, choose "Visual C++ Projects" as the project type and "MFC Application" as the template. Enter "FirstStep" in the "Name" text field and choose the location at which the project directory should be created. The paths to the required include and library files depend on the location of this directory. The examples shown here assume the directory is created in the "IC Imaging Control" toplevel directory, which is My Documents\IC Imaging Control 3.5 by default. Please keep in mind, "My Documents" may is localized to the language of your operating system. Press "OK" to confirm the dialog.
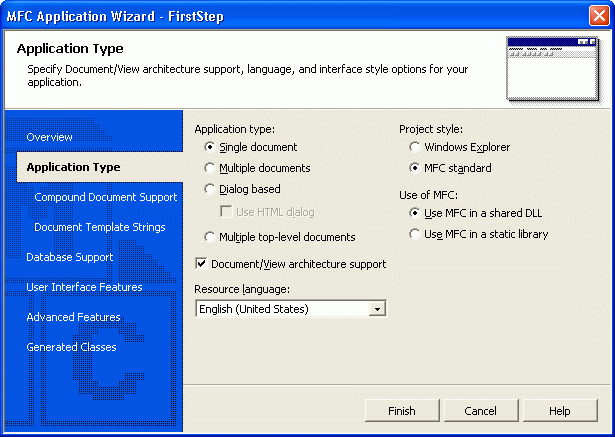
Now you can change the project settings. Click on the "Application Type" tab and select "Single document" as "Application type". Make sure the "Document/View architecture support" check box is checked and select the language you want.
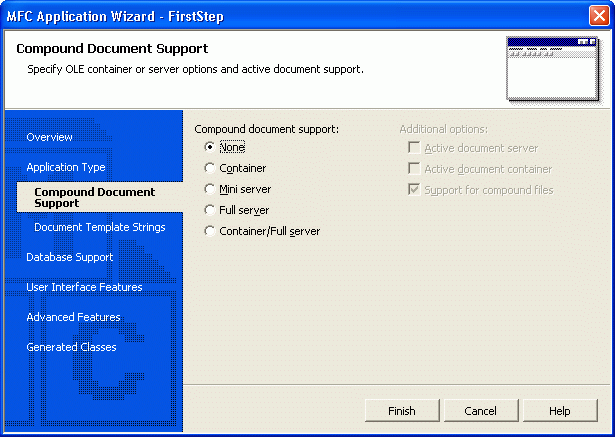
Select the "Compound Document Support" tab and make sure that "None" is selected.
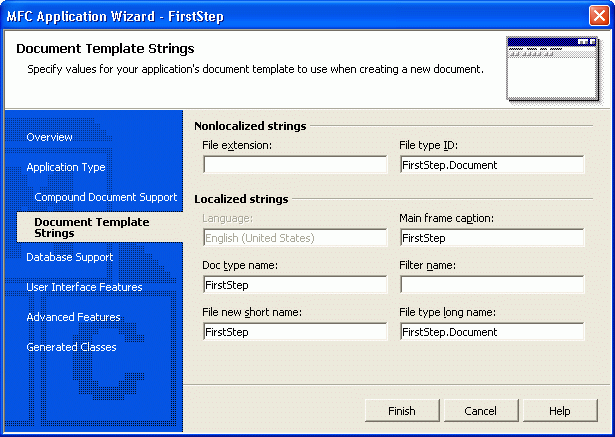
The "Document Template Strings" tab can be left as it is.
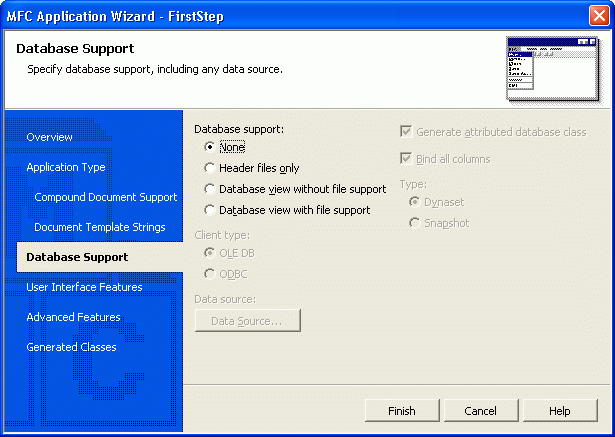
Now make sure that under the "Database Support" tab "None" is checked.
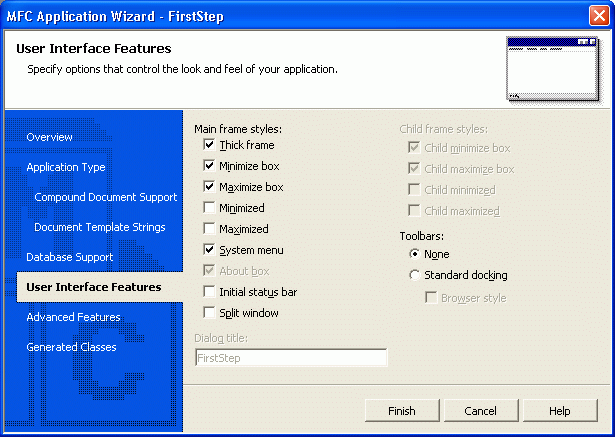
Deselect "Initial status bar" under the "User Interface Features" tab and select "None" as "Toolbars".
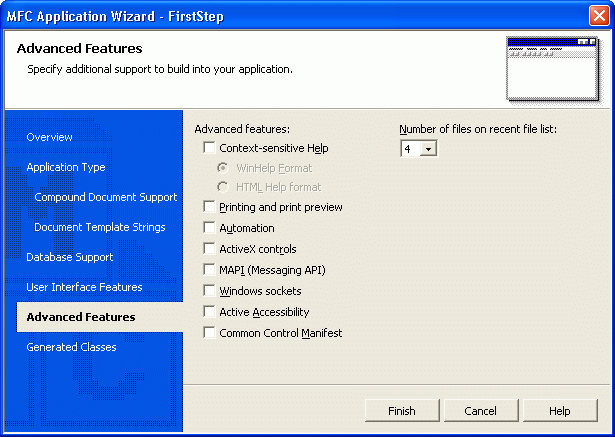
Deselect all under the "Advanced Features" tab.
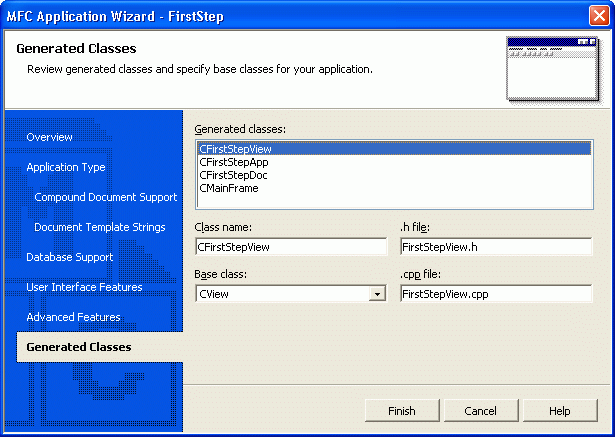
Finally, the "Generated Classes" tab shows you all the classes that will be generated automatically by the Application Wizard.
Now click on the "Finish" button and the project will be created.