Mikroskopkamera: Praktische Tests
Veröffentlicht am 19. August 2016 von TIS Marketing.
Ursprünglich veröffentlichter Artikel in der Fachzeitschrift Mikroskopie (Jahrgang 3, Nr. 1/2016, S. 37-51) von J. Piper und M. Torzewski. Gegliedert in Abschnitt: 1, 2, 3, 4, 5, 6, 7, 8, 9, 10 und 11.
Praktische Tests
Bildschirmbild
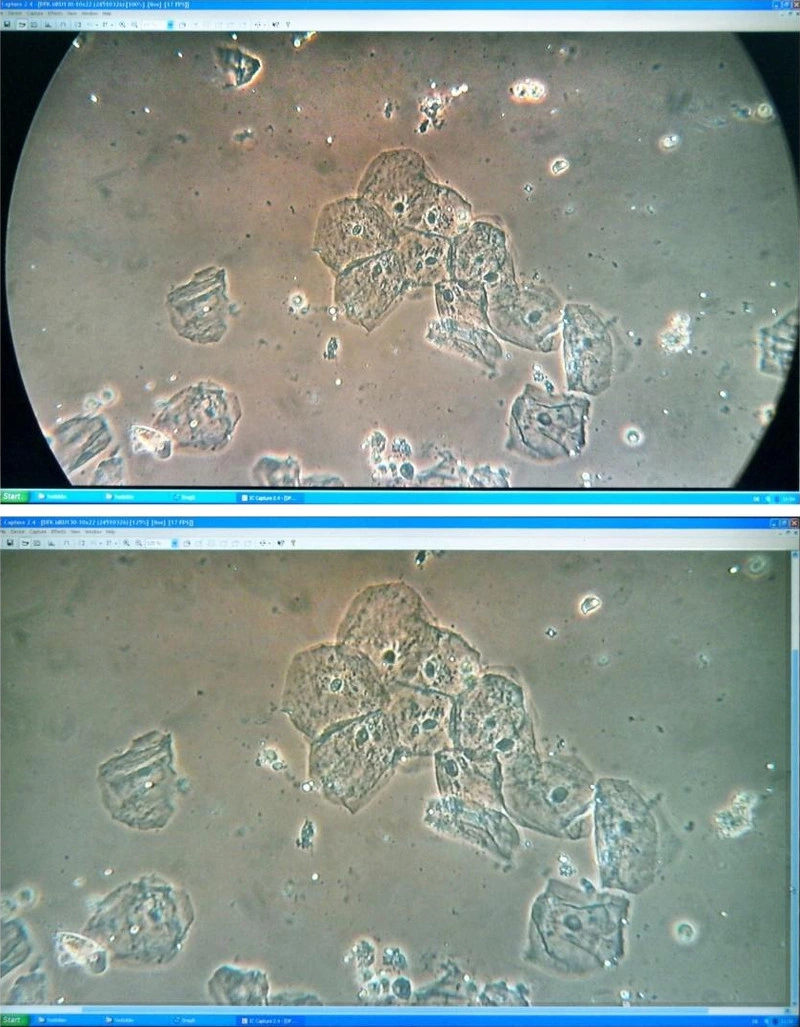
Wenn die Kamera mit ihrem zugehörigen Okular (Steckdurchmesser: 30 mm) in den Okularstutzen eines binokularen Beobachtungstubs gesteckt wird, kann durch adäquates Verschieben des Okulars im kameraseitigen Tubus nach Maßgabe aller durchgeführten Tests wahrscheinlich bei jedem Mikroskop ein verwertbares, d.h. vignettierungsfreies und gleichmäßig ausgeleuchtetes Bild auf einem Monitor präsentiert werden. Die für LifePräsentationen sinnvolle maximale Videoauflösung von 1920 x 1080 Pixeln ergibt bei 30 Frames pro Sekunde ein flüssig dargestelltes Bild - in der Capture-Software ebenso wie in der Presenter-Software. Verschiebungen des Objektträgers können bei normaler Verschiebegeschwindigkeit ohne störende Wischeffekte verfolgt werden. Bei einem Zoomfakter von 1,0 ergibt sich am rechten und linken Monitorrand eine runde Randbegrenzung. Durch moderates Zoomen des Bildes kann aber auch ein präsentables Vollbild ohne Randabschattungen erzeugt werden (Abb. 6).
Kamera-Okular
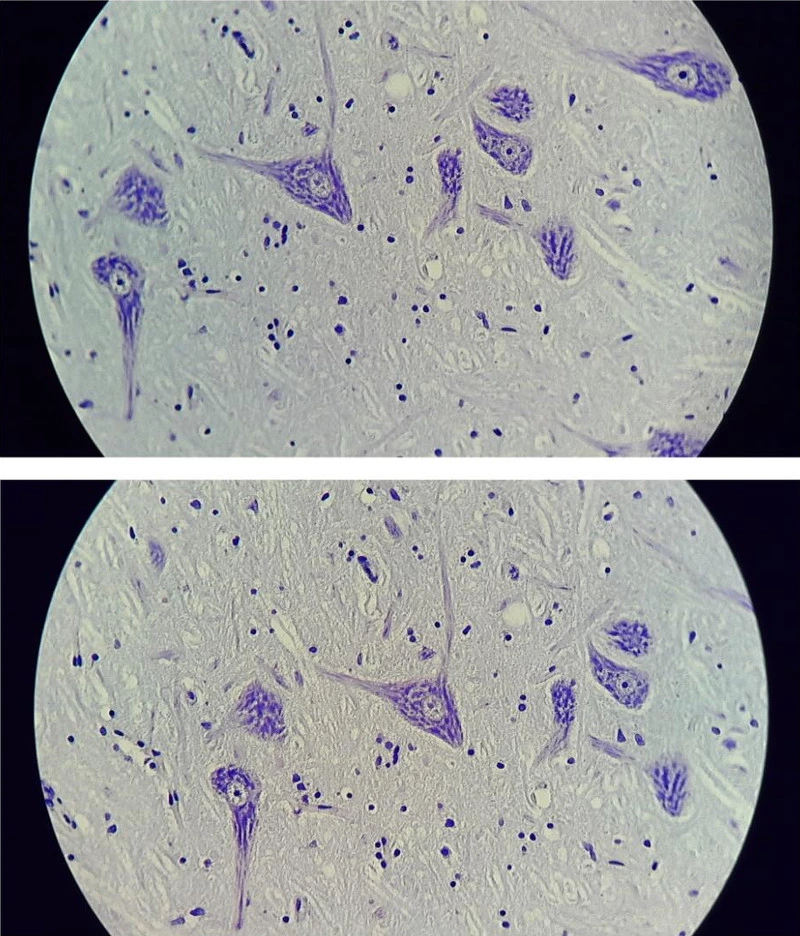
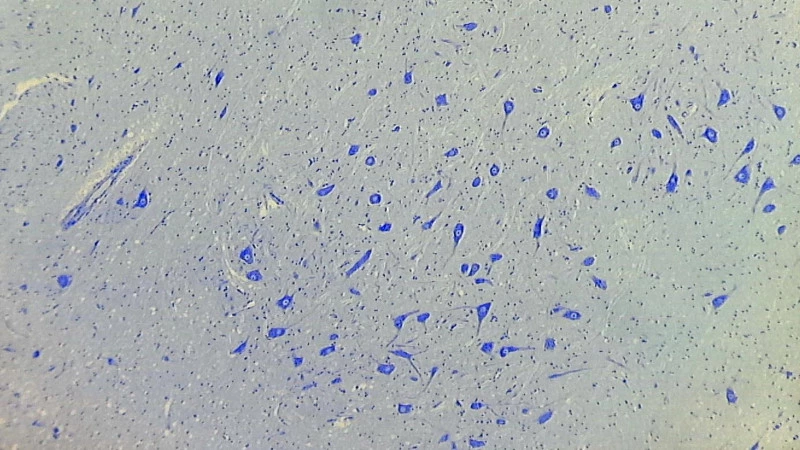
Konkret haben wir die Kamera mitsamt ihrem integrierten Okular an Großfeldtuben der Hersteller Leitz, Leica und Carl Zeiss Jena getestet. Einschränkend muss festgehalten werden, dass bei sämtlichen Mikroskopen unterschiedlicher Hersteller die von dem Kameraokular generierten Bilder eine moderate Randunschärfe zeigen. Diese ist auch erkennbar, wenn plan korrigierte Unendlich-Objektive mit voll korrigiertem Zwischenbild eingesetzt werden (so z.B. an einem Leica DMLB-Mikroskop). Der Unterschied in der Planität zwischen den originalen Beobachtungs-Okularen von Leica und dem Kamera-Okular zeigt sich bereits bei direkter visueller Beobachtung, wenn vergleichend das eine oder das andere Okular in den selben Okularstutzen des binokularen Beobachtungstubus eingesetzt und dasselbe Präparat (idealerweise ein planliegender Dünnschnitt) beobachtet wird. Beide Okulare ergeben bei unveränderter Fokussierung ein scharfes Bild, sind also hinsichtlich ihrer Abgleichlänge identisch gerechnet. Im Leica-Okular erscheint das visuell beobachtbare Bild absolut randscharf. Nach unserem Eindruck bildet hingegen das Kamera-Okular mit seiner Sehfeldzahl 22 nur einen mittleren Bereich des Sehfeldes plan und ohne erkennbare Randunschärfe ab, der etwa der Sehfeldzahl 18 entspricht (Abb. 7). Auch wenn die Aufnahme so gezoomt wird, dass die runde Randbegrenzung des Sehfeldes soeben verschwindet, bleibt die Randunschärfe im rechten und linken Bereich des Querformat-Bildes sichtbar (Abb. 8); andererseits besticht die scharf abgebildete Bildmitte durch eine hohe Präzision in der Darstellung feiner Strukturen.
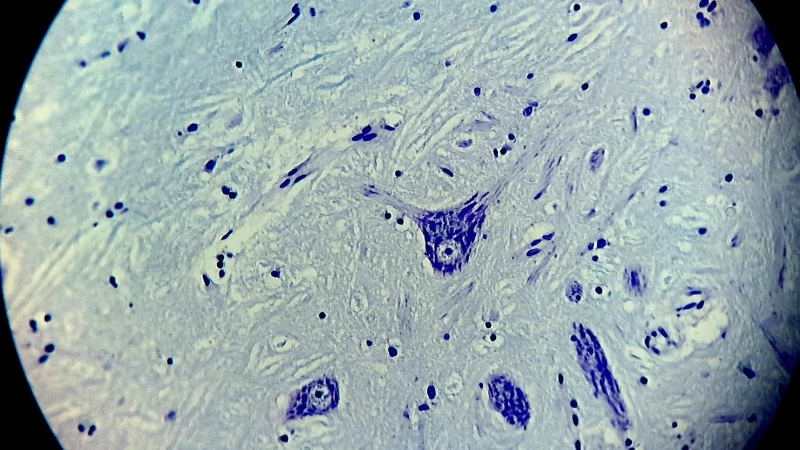
Neben Standard-Lichtmikroskopen kann die Kamera mit ihrem Okular auch mit gutem Erfolg an Stereomikroskopen adaptiert werden (getestet an einem Leica Stereomikroskop M 80). Bei den vergleichsweise geringen Vergrößerungen eines solchen Stereomikroskops wirkt sich die nichtideale Randschärfe des Kameraokulars kaum sichtbar auf die erkennbare periphere Bildschärfe aus (Abb. 9).
Problematisch kann eine Montage der Kamera mitsamt ihrem mitgelieferten Okular an einem C-Mount-Anschluss sein, zumindest dann, wenn der jeweilige Trinokulartubus für den Fotoausgang anders gerechnete Okulare vorsieht. Dies ist beispielsweise bei dem LeicaMikroskop DMLB der Fall; dessen Fotoausgang ist mit einem speziellen Projektionsokular bestückt, das nicht gegen übliche Beobachtungsokulare ausgetauscht werden kann. Folgerichtig lieferte die Kamera mit ihrem Okular bei Montage in diesem C-Mount-Anschluss kein brauchbares Bild.
Kombination mit sonstigen Okularen
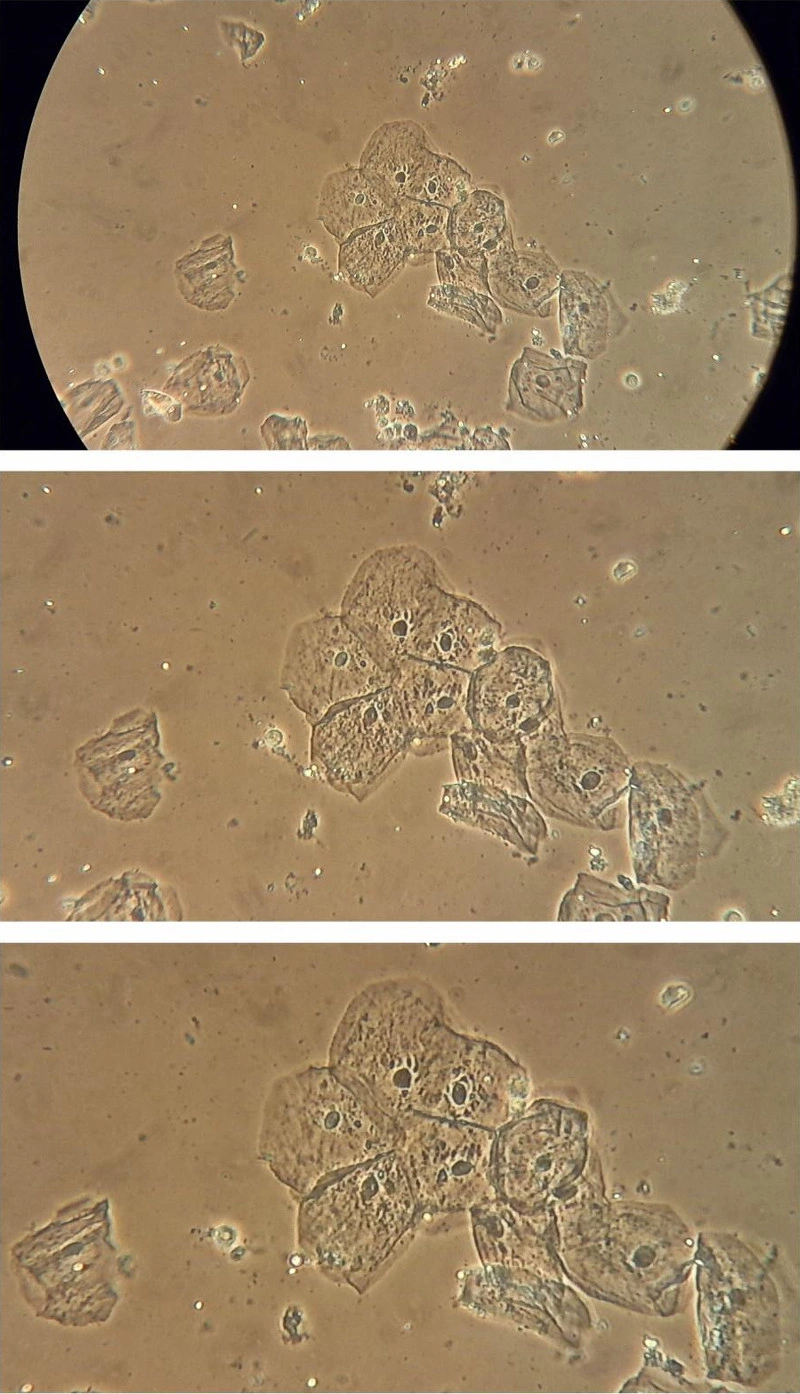
Wenn man das Kameraokular entfernt, kann die Kamera mit ihrem linsenfreien Stutzen auch auf Beobachtungstuben zahlreicher anderer Mikroskope geschoben werden, die mit Okularen von geringerem Durchmesser bestückt sind. So konnte die Kamera beispielsweise einfach und unkompliziert an einem Kursmikroskop Leitz HM-Lux 3 adaptiert werden, welches mit originalen 10-fachen Leitz Periplan Großfeld-Brillenträger-Okularen bestückt war (Sehfeldzahl 18). Der Kamera-Tubus passte exakt über die gummierte Augenmuschel eines dieser der Leitz-Okulare. Abb. 10, lässt erkennen, dass bei dem beschriebenen Vorgehen mit einem solch einfach konzipierten Kursmikroskop passable Phasenkontrastaufnahmen angefertigt werden können.
Aber auch historische Mikroskope mit Gusseisenfuß, Beleuchtungsspiegel und einfacheren Okularen von geringerer Sehfeldzahl (z.B. Studio-Mikroskop, Enuro-Optik) und Mikroskope mit nicht genormten Okularen und Objektiven von noch geringerem Durchmesser (z.B. das vor einigen Jahren auch über einen Lebensmittel-Discounter erhältliche Bresser Biolux AL) konnten erfolgreich mit der Kamera betrieben werden; mit all diesen Mikroskopen waren Life-Präsentationen des beobachteten Bildes, Video-Clips und Farbfotos erstellbar. Die jeweiligen im Durchmesser deutlich dünneren Okulare mussten lediglich wie vorbeschrieben mit Manschetten ummantelt werden, damit sich der Kamera-Tubus achsgerecht auf dem jeweiligen Okularstutzen des Mikroskop-Tubus befestigen ließ. Hierfür genügten zurechtgeschnittene Papierstreifen oder Papiertaschentücher, die mit einem Streifen Tesafilm zum Halten gebracht wurden.
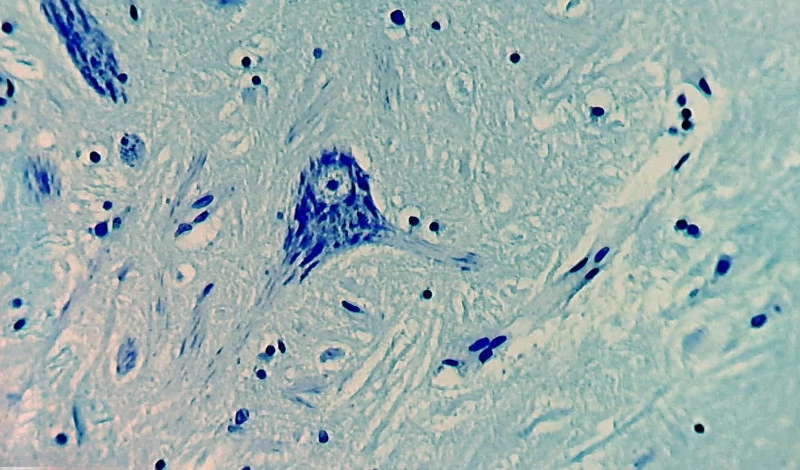
Grundsätzlich kann die Kamera auch ohne ihren linsenfreien Tubus über der Augenlinse eines Okulars platziert werden, wenn der Durchmesser des zu verwendenden Original-Okulars größer ist, als der Innendurchmesser des Kamera-Tubus, so dass sich das Okular nicht in den Kamera-Tubus einführen lässt. Im einfachsten Fall kann der Kamera-Body direkt der Einfassung der Okular-Augenlinse aufgelegt werden. Dies funktionierte für Testzwecke einwandfrei am Leica DMLB. Eine Person drückte die Kamera erschütterungsfrei auf das Leica-Okular, eine zweite Person bediente den PC und fertigte die Fotos an. Auf diese Weise konnten Unterschiede in der Abbildungsgüte des Kamera-Okulars versus Leica-Okulars sichtbar gemacht werden. Die im Kameraokular erzeugte periphere Unschärfe war bei Verwendung des originalen Leica-Okulars nicht erkennbar, zusätzlich war das Leica-Okular durch eine erhöhte Schärfe und verbesserten Kontrast ausgezeichnet (Abb. 11).